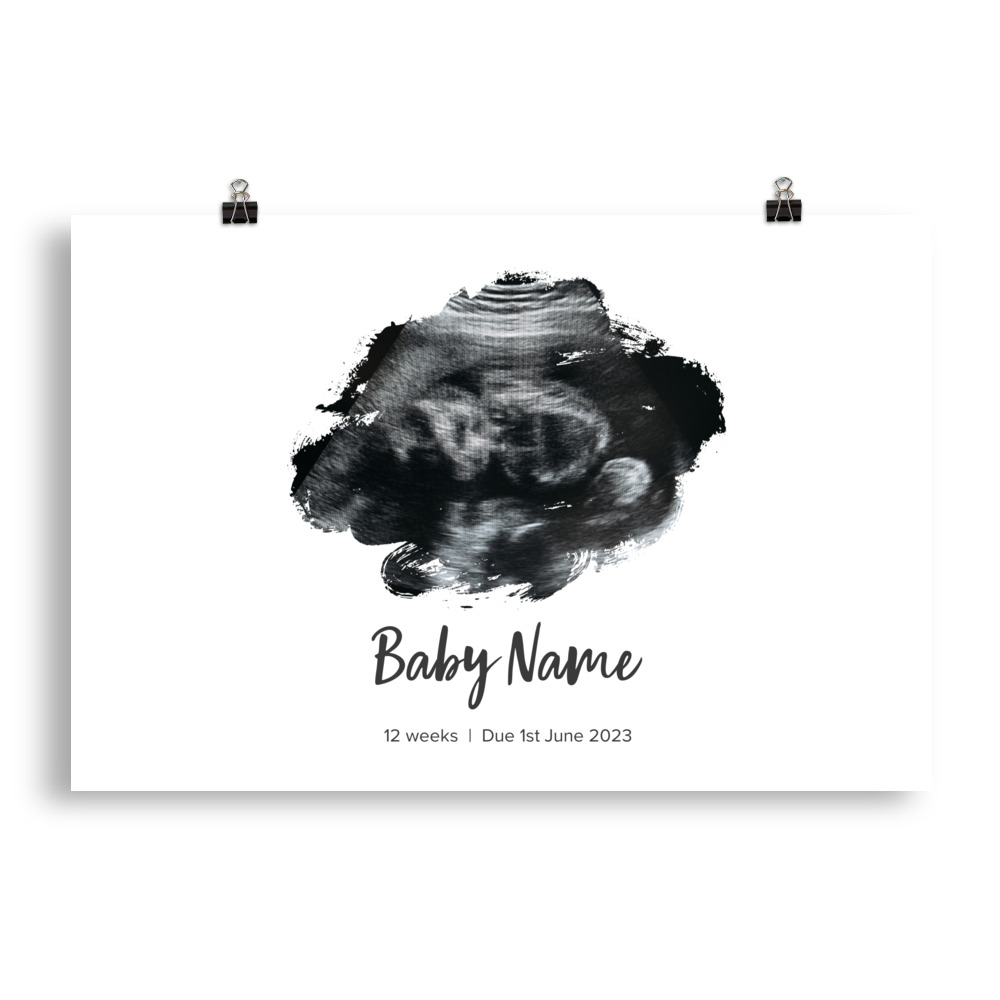
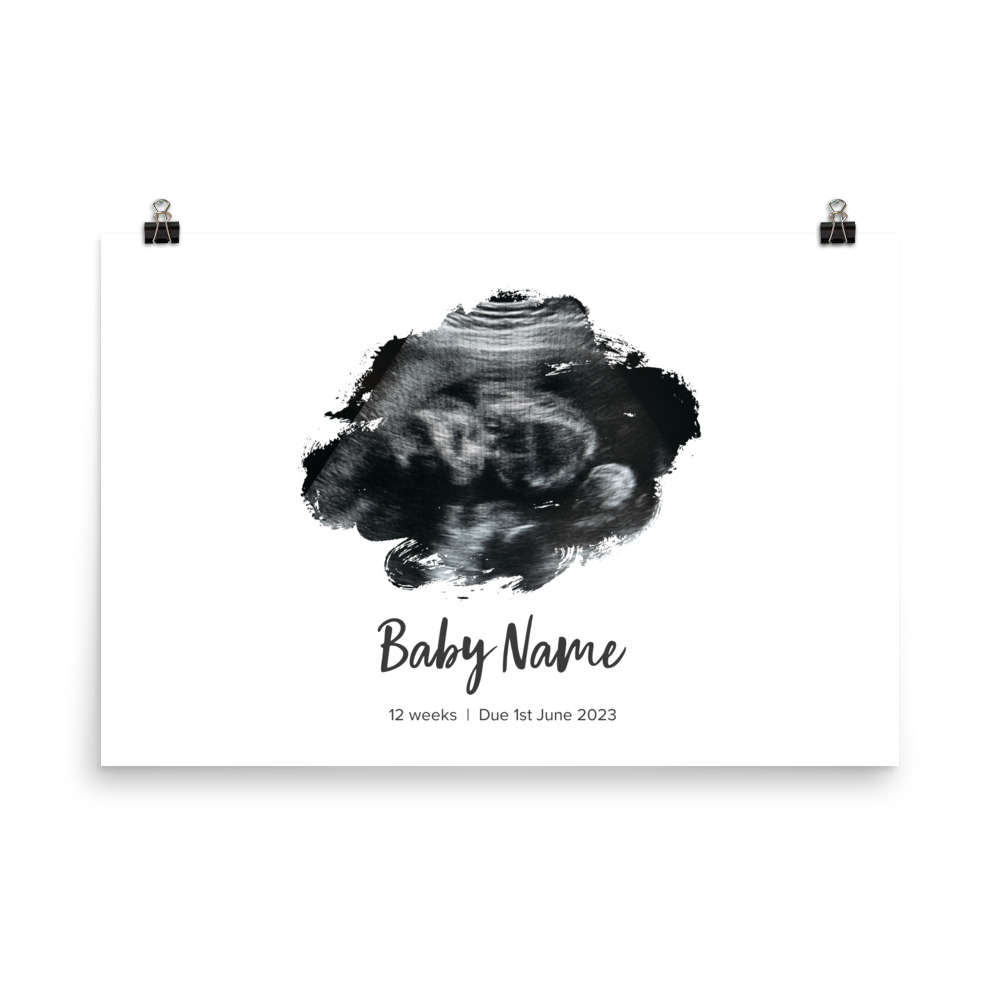
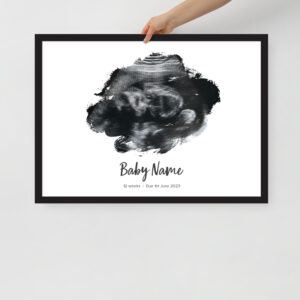
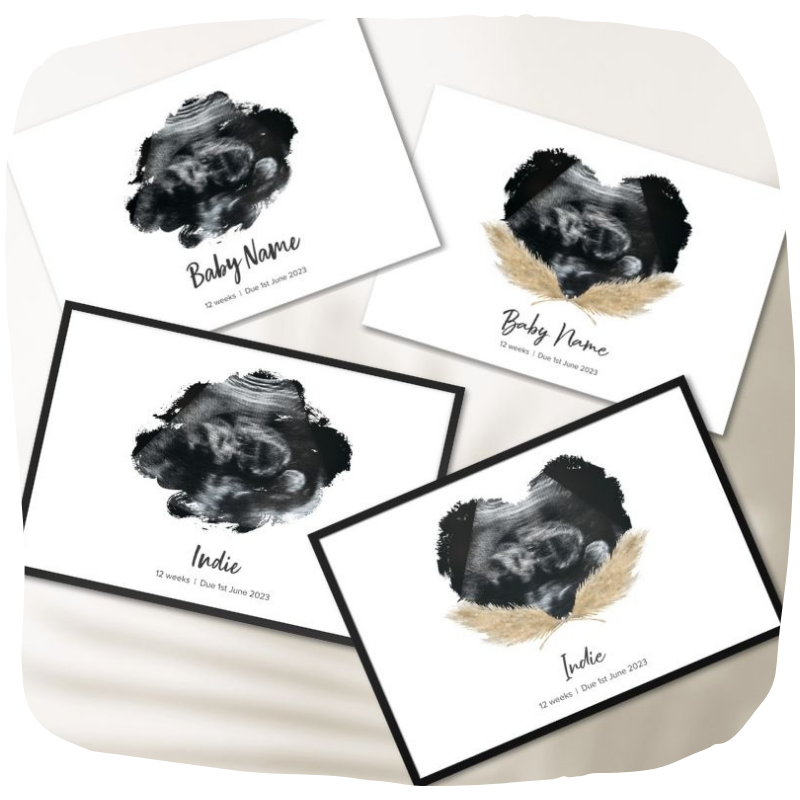
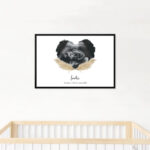
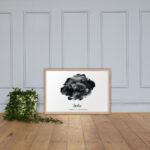
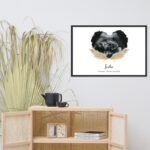
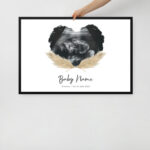
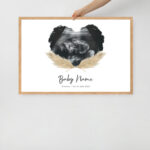
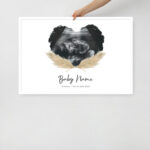
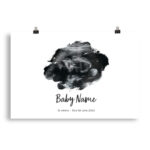
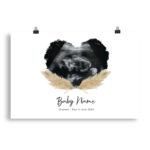
Introducing our large size Pregnancy Ultrasound Scan Poster – a meticulously crafted, made-to-order piece that beautifully captures the first moments of your child’s life. Personalise your poster with your babies name and birth date. Made in Australia with sustainable manufacturing practices, this artistic and unique ultrasound poster is a perfect baby shower gift or pregnancy gift and an exquisite addition to any baby nursery or nursery prints collection.
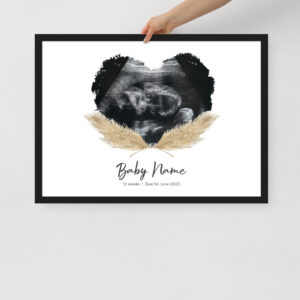
Turn your tiny ultrasound photo into stunning boho nursery wall art! These ultrasound posters are a thoughtful pregnancy gift idea that every mother will cherish. We offer both “with frame” and “no frame” options – see product titles for details.
Our creative enlarge ultrasound posters offer a sentimental type of nursery art. Showcasing the beauty and wonder of your baby’s first glimpse into the world. Your baby scan image is transformed into a mesmerizing work of art that serves as a constant reminder of the miracle of life and the incredible journey of parenthood.
With sustainability in mind, our Pregnancy Ultrasound Scan Poster is made to order, ensuring minimal waste and reducing our environmental impact. Each poster is printed on high-quality museum grade paper, adding an elegant touch to this personalized artwork. You can choose from our framed and unframed options. (Check the other product pages for both options).
Celebrate the uniqueness of your child’s ultrasound with this personalised baby poster. It not only captures the cherished memories but also makes a statement as an artistic and meaningful decor piece in any nursery or alongside your nursery prints collection. The thoughtful design and sustainable manufacturing practices further enhance its value as a gift that will be treasured for years to come.
Experience the joy of preserving and displaying your baby’s first moments with this Pregnancy Ultrasound Scan Poster with Frame. Order now and embrace this beautiful and sustainable way to celebrate the miracle of life in your nursery prints collection.
FRAMED POSTERS SPECIFICATIONS:
• Paper weight: 189 g/m²
• 0.26 mm (10.3 mil) thick
• Black and white frame made from semi-hardwood alder
• Oak frame made from solid oak
• Acrylite front protector
• Hanging hardware included
• 21 × 30cm posters are size A4
• Blank product components in the US sourced from Japan and the US
• Blank product components in the EU sourced from Japan and Latvia
UN-FRAMED POSTERS SPECIFICATIONS:
• Paper weight: 189 g/m²
• 0.26 mm (10.3 mil) thick
• Black and white frame made from semi-hardwood alder
• Oak frame made from solid oak
• Acrylite front protector
• Hanging hardware included
• 21 × 30cm posters are size A4
• Blank product components in the US sourced from Japan and the US
• Blank product components in the EU sourced from Japan and Latvia
Your baby scan is a tiny image, therefore we need to increase the image quality so it can be blown up to be a large print. To do this you need to follow some super simple steps.
Check our tabs for resizing instructions for PC, Android, or iOS/iPhone.
Was your image file too small for our posters?
It is recommended for print files to have a DPI (dots per inch) of 300 or more in order to ensure the best quality for print! Here are instructions to resize your image to the largest size possible:
DESKTOP/PC/LAPTOP INSTRUCTIONS:
STEP 1: Go to this free DPI Converter tool online.
STEP 2: Make sure the 300 button is selected before you click Choose Image to upload the photo you want to resize.
STEP 3: After processing, your new enlarged image should automatically download!
STEP 4: Go to the ultrasound poster product page and select the poster size.
STEP 5: Click the Personalise button.
STEP 6: Add your baby’s name, text colour and their birth date or due date or how many week old the baby is in the scan (write anything you want).
STEP 7: Click Upload.
STEP 8: Find the new resized image by browsing the files. Usually the new resized image will be in the downloads file.
STEP 9: Check that the product mock-up is exactly what you want.
STEP 10: After you have approved the design and text click Add To Cart.
*Once you approve the design and checkout the product there is no cancelling orders unless it is within 1 hour of the order being placed as these posters are made to or custom products.
Was your image file too small for our posters?
It is recommended for print files to have a DPI (dots per inch) of 300 or more in order to ensure the best quality for print! Here are instructions to resize your image to the largest size possible:
ANDROID MOBILE INSTRUCTIONS:
STEP 1: Open your phone’s Image Gallery.
STEP 2: Select the baby scan image.
STEP 3: Select the Edit button (usually a pen symbol).
STEP 4: Click the ( ⋮ ) symbol then select the Resize option.
STEP 5: You will be presented with a list of image dimensions. Select the largest option offered. It will be listed last.
STEP 6: Click Save.
STEP 7: Go to the ultrasound poster product page and select the poster size.
STEP 8: Click the Personalise button.
STEP 9: Add your baby’s name, text colour and their birth date or due date or how many week old the baby is in the scan (write anything you want).
STEP 10: Click Upload.
STEP 11: Find the new resized image by browsing the files. Usually the new resized image will be in the downloads file.
STEP 12: Check that the product mock-up is exactly what you want.
STEP 13: After you have approved the design and text click Add To Cart.
*Once you approve the design and checkout the product there is no cancelling orders unless it is within 1 hour of the order being placed as these posters are made to or custom products.
Was your image file too small for our posters?
It is recommended for print files to have a DPI (dots per inch) of 300 or more in order to ensure the best quality for print! Here are instructions to resize your image to the largest size possible:
IPHONE INSTRUCTIONS:
STEP 1: Download the free MagicResize app on the Apple Store.
STEP 2: Use the resize function on their app and resize the image.
STEP 3: Click Save.
STEP 4: Go to the ultrasound poster product page and select the poster size.
STEP 5: Click the Personalise button.
STEP 6: Add your baby’s name, text colour and their birth date or due date or how many week old the baby is in the scan (write anything you want).
STEP 7: Click Upload.
STEP 8: Find the new resized image by browsing the files. Usually the new resized image will be in the downloads file.
STEP 9: Check that the product mock-up is exactly what you want.
STEP 10: After you have approved the design and text click Add To Cart.
*Once you approve the design and checkout the product there is no cancelling orders unless it is within 1 hour of the order being placed as these posters are made to or custom products.
